Copyright
2009 Thomas Penrose
Replacing Sand in a Hayward inground pool Sand Filter: PAGE 3
| PAGE 1 -- PAGE 2 -- PAGE 3 -- PAGE 4 -- PAGE 5 |
 |
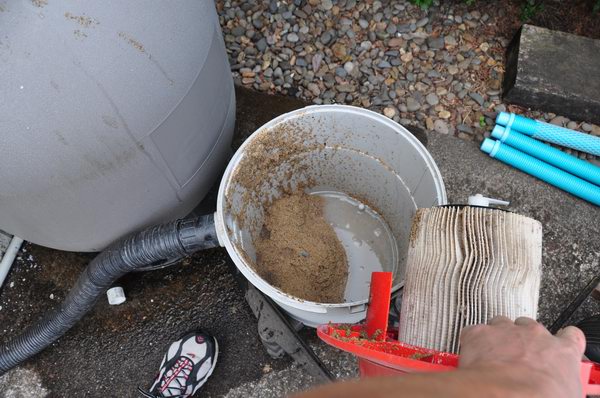
| You will need to empty the sand and water from the vacuum canister frequently. This view shows a relatively small amount of sand in the canister, and it is possible to fill it more than this before emptying it. |
 |
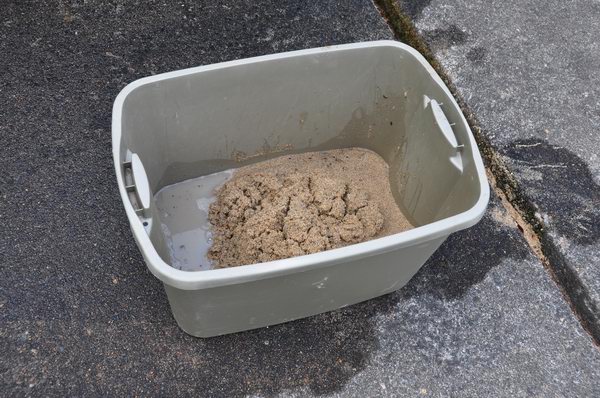
| I keep plastic storage bins nearby to dump the vacuum canister into. You can either dispose of the sand in the garbage, or use it as fill in your yard. |
 |
| Once you have removed enough sand, the horizontally mounted laterals near the bottom of the tank are exposed, and the vertical pipe attached to them will begin to move freely. Again, do not attempt to move the vertical pipe while there is still sand in the tank or the laterals may break. |
 |
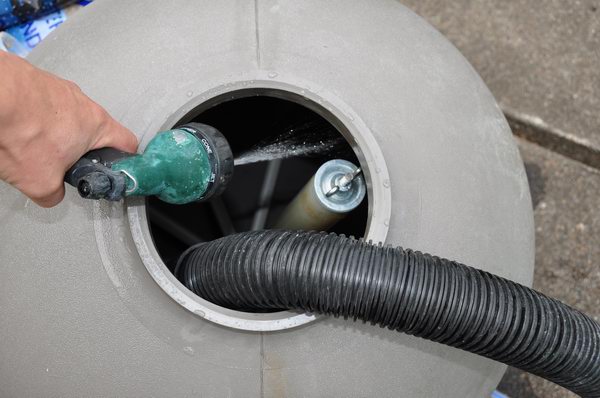
| Once almost all of the sand has been removed, tip the tank and spray into it while you use the vacuum. The water will loosen any remaining sand that is under the laterals, etc., and allow you to vacuum all of it out, leaving none of the old sand behind. |
| |
 |
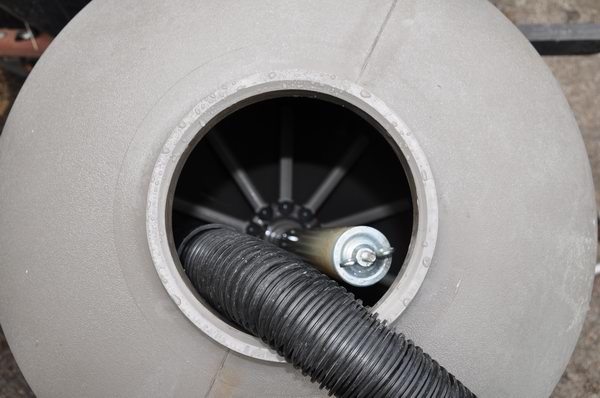
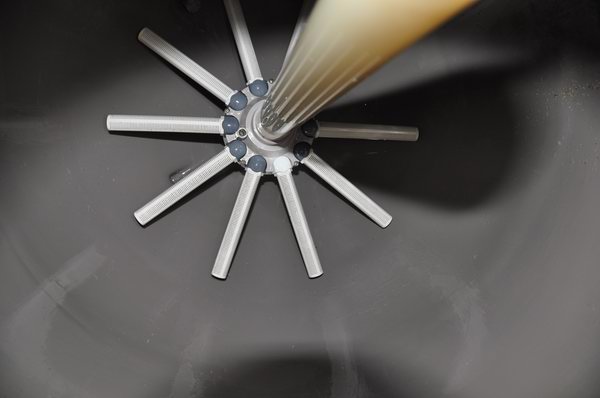
| This is an image of the inside of the Hayward sand filter tank, showing the lateral assembly, and also showing that all of the old sand has been removed. |
 |
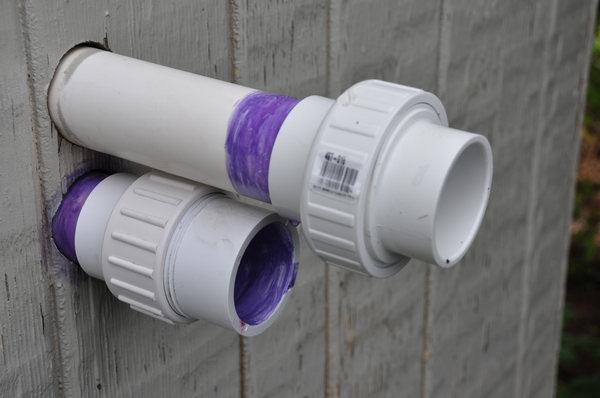
| Using PVC primer and PVC cement, two threaded Unions have been glued to the pipe stubs. My local store only had two unions in stock, but of different types, so I was stuck using them. Note that the union on the bottom is a "slim fit" union. This is desirable in this situation because of the tight space between the two pipes. Ideally, I would have been able to use two of these slim fit unions, but my pool supply store had only one left. Some more recently manufacturerd Hayward sand filters have valve assemblies that do not mount the pipes so close together, making it easier to fit unions in place. |
| PAGE 1 -- PAGE 2 -- PAGE 3 -- PAGE 4 -- PAGE 5 |
Copyright
2009 Thomas Penrose |